Showing posts with label Project Cookbook. Show all posts

Tuesday, October 9, 2012

Project Cookbook: Blackberry Cobbler

My darling neighbor called me out for not sticking with my New Year's resolution. I'll admit, I've been a huge slacker, but would still like to cook my way through all my cookbooks and plan to be back at it this fall. And into next year!

I picked Tanner Road (neighborhood) blackberries and was tempted to run to the Internet for a recipe, but stopped myself and pulled a classic off the cookbook shelf: Better Homes and Gardens New Cookbook.

It delivered. A simple and delicious recipe for cobbler! And I made this back in August, but the blackberry bushes in our neighborhood are still loaded. So it's not too late! Or this recipe could be used with virtually any kind of fruit. And it's especially good warmed up and served with a big scoop of vanilla ice cream.

Blackberry {Fruit} Cobbler

1 cup flour
2 tablespoons sugar
1 1/2 tsp. baking powder
1/2 tsp. cinnamon (optional)
1/4 cup butter
5 cups fresh or frozen blackberries, cherries, rhubarb, blueberries, peaches, apples or pears
2/3 cup sugar
1 TBSP cornstarch
1/4 cup water
1 egg
1/4 cup milk

Vanilla ice cream

1. For the topping, in a medium bowl stir together flour, the 2 tablespoons sugar, baking powder, and cinnamon. Cut in butter till mixture resembles coarse crumbs. Set aside.
2. For filling, in a saucepan combine 2/3 cup sugar and 1 tablespoon cornstarch. Add 1/4 cup water. Stir in 5 cups fresh or frozen blackberries. Cook and stir until thick and bubbly.
3. In a small bowl stir together the egg and milk. Add to flour mixture, stirring just to moisten. Transfer filling to a 2-quart square baking dish. Using a spoon, immediately drop topping into small mounds atop filling.
4. Bake cobbler in a 400 degree oven for 20 to 25 minutes or till a wooden toothpick inserted into topping comes out clean. Serve warm with ice cream.

Recipe #8 from Project Cookbook: My 2012 (and beyond!) New Year’s Resolution to cook at least one recipe from every cookbook I own.

Friday, August 24, 2012

Project Cookbook: Rhubarb Star Anise Crumble

As I mentioned in my rhubarb thyme jam post, I came away from my most recent PCC cooking class raring to go and made this dessert immediately...which was back in June! So yeah, I'm a big blog post slacker and I hesitated to share this now since it's so late in the season, but my rhubarb is still growing. And Megan just did a post for a Rhubarb Gin Fizz (which means rhubarb posts are still in vogue). And if you don't have fresh rhubarb, you can tuck this away for next spring or use seasonal fruit such as fresh peaches or wild blackberries instead. The best part of this recipe is really the "crumble" anyway!

Becky (the awesome teacher) served the crumble with Snoqualmie ginger ice cream. Normally I'd be a purist and go with vanilla for a crumble, but the ginger ice cream was a perfect pairing.
My new favorite brand of ice cream. Every flavor is incredible! 
Becky mentioned in our class that the raw dough tastes just as good as the final cooked, dessert. She wasn't kidding. It was seriously addicting and because it had no raw eggs in it (not that that's ever stopped me before) I felt just fine eating several snitches of the dough.

I will be honest and say that rhubarb bars are still my all time favorite rhubarb dessert, but this was not only delicious but really unique with the ginger, citrus and star anise. And the crust was over the top. Some day I may try a hybrid of my two recipes using this crust!

Rhubarb Star Anise Crumble
Recipe from Becky Selengut adapted from a recipe developed by Jeanette Smith

Filling:
2 pounds rhubarb, washed and chopped into 1-inch chunks
3-4 pieces whole star anise
1 1/4 cups sugar
1-inch chunk fresh ginger, peeled
Zest and juice of 1 orange
Pinch of salt

Topping:
3/4 cup raw almonds, divided
2 tablespoons sugar
1 1/2 cups all-purpose flour
1/2 cup sugar, plus 2 tablespoons
1 1/2 tablespoons baking powder (yes, tablespoons!)
1 1/2 teaspoons baking soda
1/4 teaspoon salt
5 tablespoons cold butter, cut into chunks
3/4 cup buttermilk

Preheat oven to 375 degrees F.

Place all filling ingredients in a large saucepan over moderate heat. Simmer until rhubarb is soft and mixture is fairly thick, about 20 minutes. When cooked, remove star anise and ginger chunks. Lightly butter eight 6-ounce ramekins and divide the rhubarb evenly.

For the topping, lightly toast 1/4 cup of the almonds in 350 degree oven for 10 minutes. Pulse in the food processor with 2 tablespoons sugar and a pinch of salt until coarsely chopped. Set aside.

Grind the remaining 1/2 cup almonds in the food processor until fine. Mix flour, 1/2 cup sugar, baking powder, baking soda and salt together in a food processor with almonds. Place butter chunks over flour mixture and pulse until coarsely combine (about 30 pulses). Put in a medium bowl and gently stir in the buttermilk until just combined. Divide the dough and drop over the rhubarb filling to cover.

Sprinkle toasted almond mixture over the top. Place on cookie sheet and bake 20-25 minutes until bubbly and topping is browned.

Serves 8. 
Murray directing the photo shoot
Recipe #7 from Project Cookbook: My 2012 New Year’s Resolution to cook at least one recipe from every cookbook I own.

Monday, June 11, 2012

Project Cookbook: Rhubarb-Thyme Jam with Goat Cheese

My aunt Paula and I took another cooking class from Becky Selengut at PCC. The theme of this class was Fisherman's Spring and we started out with this rhubarb jam as an appetizer paired with a selection of goat cheeses and homemade black pepper and fennel breadsticks. We ended the meal with a rhubarb star anise crumble (my next post). Everything in between was amazing!

Our class was on a Friday night and I made the jam on Saturday because we had friends coming for dinner and the crumble on Sunday to bring to a BBQ. Both recipes were that good and easy that I couldn't wait to make them. The other recipe that made a huge impression on me was scallops with tarragon beurre blanc, which I'll be making soon for a date night at home!

Just like last time, Becky rocked. She's a very knowledgeable, funny and delicious chef with a cool background. Some day I'd like to take advantage of her private chef services. And because I came home with a packet of recipes that will join my cookbooks on my cookbook shelf, this counts as part of my challenge.


Rhubarb-Thyme Jam
Recipe from Becky Selengut

Makes about 1 1/2 cups jam
Preparation time: 15 minutes
Cooking time: 30 minutes

3 cups rhubarb, medium dice (from about 3 large stalks)
1 tablespoon grated ginger
1 stick cinnamon (I didn't have a stick so I just put in a few shakes of cinnamon)
1 tablespoon chopped fresh thyme
1/4 teaspoon freshly ground black pepper
1/2 teaspoon salt
1/3 cup Champagne vinegar
1/4 cup honey
1 teaspoon lemon zest

Put all ingredients into a saucepan. Bring to a boil and reduce to a simmer and cook, stirring often, for about 30 minutes until thickened. Remove cinnamon stick and cool jam in refrigerator until ready to serve.

It will keep for 4 weeks in the fridge or for a long, long time in the freezer!

Serve with a selection of local goat cheeses (we just used a Kirkland Signature goat log) and crackers or homemade breadsticks.

Pairs well with Chateau St. Michelle's Eroica Riesling.

Recipe #6 from Project Cookbook: My 2012 New Year’s Resolution to cook at least one recipe from every cookbook I own.

Wednesday, June 6, 2012

Project Cookbook: Macadamia Nut and Basil Crusted Salmon


Blogger has been driving me nuts. I really could use a very simple “for dummies” blog platform because lately blogger has not been user friendly. At all. I loved the new modern templates they came up with that really showcased photos from each post, but with the new template I lost my reading list on the side.

My reading list and labels are much more important to me, so I was thrilled when I finally, FINALLY figured out how to change it back to the good ‘ol fashioned template. Hooray!

And Google +? Yeah, I’m on it, but I still don’t get it.

Now on to food!

Curtis and I eat salmon almost every week. Right now we’re in delicious Copper River salmon season, but throughout the rest of the year, I just keep my freezer stocked with Costco bags of wild salmon filets. Our favorite preparation is to marinate the fish in Yoshida’s teriyaki sauce, cook it in a 300 degree oven for 20 minutes (I know I’ve mentioned this before, but it comes out perfect every time!) and then to serve it over stir fried veggies.

Luckily this is an easy preparation and neither one of us has gotten tired of it.

But, in the spirit of my cookbook project and because Curtis brought home a 2-pound “sample” bag of macadamia nuts, I decided to try this recipe from my favorite Hawaiian cookbook we picked up at Costco when we were in Kauai: The Hali’imaile General Store Cookbook. By the way, The Hali’imaile General Store, in my humble opinion, is one of the best restaurants on Maui. This recipe calls for Ono and they serve it with mango lime butter, but I used salmon and skipped the butter.
I still haven't organized my cookbook shelves since I started this project. But it will get done. Someday. 
I was lazy and chopped the nuts and basil in the food processor vs. by hand so it turned into a bright green paste. I’m sure if I had chopped it by hand, this dish would have been prettier. But this was quick and tasted great! And have you tried Trader Joe's wild rice mix? Even though it takes ages to cook it, it's our favorite!

Macadamia Nut-Crusted Wild Salmon 
Adapted from The Hali’imaile General Store Cookbook by Bev Gannon 

½ cup macadamia nuts, whole or pieces
2 cups panko (Japanese breadcrumbs)
½ cup fresh basil
½ cup good quality mayonnaise (I used half non-fat Greek yogurt)
2 teaspoons Sriracha (Thai garlic-chile paste)
6 (6-ounce) salmon filets (or Ono or any other fish you like)
Salt
Freshly ground black pepper

Preheat oven to 300 degrees.

To prepare the coating, place the nuts, panko, and basil in a food processor and process until fine. Spread on a plate. In a bowl, combine the mayonnaise and chili paste and mix well. Lightly season the fish with salt and pepper. Evenly spread a light coat of the chile mayonnaise on one side of each fish fillet. Coat the same side evenly with the coating.

Here the directions tell you to fry the fish over medium heat, crust side down, in oil for 3 minutes and then to flip the fish and finish it in a 450 degree oven for 5 minutes. Instead, I coated mine on both sides with the nut basil mixture and baked it in a 300 degree oven for 20 minutes. And because it was pretty thick salmon, we ended up throwing it back in the oven for an additional 5 minutes.

Verdict? It was really good and I’ll be adding this recipe to my regular salmon rotation!

Fun fact: One means “delicious” in Hawaiian

Recipe #5 from Project Cookbook: My 2012 New Year’s Resolution to cook at least one recipe from every cookbook I own.

Thursday, May 10, 2012

Project Cookbook: Summer Corn & Clam Chowder with Rosemary Biscuits

Similar to my duck recipe, I made this many moons ago (well in February, when heart-shaped biscuits were a perfect Valentine’s Day treat) and am finally just getting around to posting it now! I’ve been a slacker with my 2012 cookbook project, but plan to start stepping it up!

This chowder comes from the Clinton St. Baking Company cookbook. Until now, I haven’t been able to turn the page from my favorite pancake recipe but my friend Jenny, who introduced me to the book, assured me every other recipe is fabulous and I should start with the Corn & Clam Chowder.

She was right, it was delicious and a big hit with Curtis and then again the second night when I brought the leftovers home to have with my mom. It has a nice kick, so if you’re not a fan of spice, I’d recommend using less cayenne.

This is a summer recipe, that I made in the middle of winter. But now that I have it under my belt and know how good and easy it is, when fresh corn season rolls around, I’ll be ready to make summer chowder!

I made heart-shaped rosemary biscuits to go with the chowder, a recipe from one of my favorite food blogs: From The Little Yellow Kitchen and served them with honey butter like they suggested. Honey butter is heaven. And it’s even better paired with savory, salty biscuits!
This isn't a very beautiful photo, but I can assure you the chowder is delicious!

CORN & CLAM CHOWDER
Clinton Street Baking Company Cookbook

Serves 8 to 10

2 cups fresh shucked corn (from about 4 ears) – I used frozen
1 cup heavy cream
2 tablespoons extra virgin olive oil
½ cup chopped raw sliced bacon
3 cloves garlic, smashed and minced
1 whole medium sweet onion, minced
½ teaspoon cayenne pepper
2 bay leaves
2 tablespoons fresh thyme leaves, chopped
3 tablespoons all-purpose flour
3 tablespoons unsalted butter
3 small Idaho potatoes, peeled and cut into big chunks
2 tablespoons salt and ground white pepper, blended
4 cups clam juice
2 cups chopped clams (frozen or fresh) – I used canned

  1. First, puree the corn: Put 1 cup of the raw corn and ½ cup of the heavy cream in the bowl of a food processor or blender and pulse or blend until pureed. Set aside.
  2. In a medium to large stockpot with a lid, add the olive oil and bacon. Cook on medium to high heat until the bacon is lightly browned and the fat is drawn out. Add the garlic, onion, cayenne pepper, bay leaves, and thyme, and cook for 8 to 10 minutes, until the onion is translucent and soft.
  3. Sprinkle the flour over the bacon-and-onion mixture. Stir in the butter and mix until the flour and onions are fully incorporated and make a smooth paste (this roux will slightly thicken the base of the soup). Add the potatoes and the remaining cup of corn and cook for another 5 to 7 minutes. Add the salt and pepper and clam juice, plus 2 cups water. Add the chopped clams and bring the soup to a boil.
  4. When the soup is slightly thickened, add the pureed corn mixture and the remaining heavy cream. Do not bring the soup back to a boil. Continue simmering until the potatoes are just cooked. Adjust the seasoning to taste. Remove the bay leaves.

MINI ROSEMARY (HEART-SHAPED) BISCUITS WITH HONEY BUTTER

Makes 12 small biscuits

Ingredients
1 cup flour
1 teaspoon baking powder
1/2 teaspoon salt
1/8 teaspoon of baking soda
3 tablespoons cold butter, cut into pieces
1 tablespoon fresh rosemary, chopped
1/2 cup buttermilk

Directions
Preheat the oven to 450 degrees F.
Sift the dry ingredients into a large bowl. Work the butter into the flour with your fingertips until the mixture resembles forms large crumbs. Stir in the rosemary. Slowly add 1/2 cup of the buttermilk using your hands to mix it in and a ball of dough forms. Do not over work the biscuits or they will be tough!
On a lightly floured surface, pat the dough into a circle about 7 inches in diameter and 1/2-inch thick. Using a cut out 12 small biscuits using a small cookie cutter.
Bake until they are lightly golden on top, 10 to 12 minutes. Serve warm.

HONEY BUTTER

Ingredients
4 tablespoons softened butter
2 tablespoons honey

Directions
Using a fork, mash the butter as you stir in the honey. (Forget the fork, I whipped it in my kitchen aid mixer which made it nice and fluffy!)

Recipe #4 from Project Cookbook: My 2012 New Year’s Resolution to cook at least one recipe from every cookbook I own.

Wednesday, May 2, 2012

Project Cookbook: Seared Duck, Pickled Greens and Cilantro over Fresh Noodles

I made this dish and even wrote the post in January, but am finally just posting it now, four months later! I have a few catch up posts, with not-so-beautiful winter photography and then I can get caught up with what we've currently been cooking!

I love taking cooking classes at PCC, our local community co-op grocery store. I have a nice packet of recipes from every class I’ve taken and each of these packets gets jammed on my shelf along with all my cookbooks. So as part of my cookbook project, I’m also going to cook a recipe from each of the classes I’ve taken at PCC. After all, most of these classes cost more than any cookbook I own and why wouldn’t I recreate all the awesome recipes I learned how to make first hand?

This duck recipe is from a class that was titled Night Markets of Bangkok, taught by Becky Selengut. Becky rocks! This is the second class I’ve taken from her; she’s very funny, a great cook and excellent teacher. She designed this class around all her favorite street foods she experienced when traveling in Thailand. Plus as I was preparing the duck recipe, I e-mailed her with a question and she got right back to me. How’s that for personal service?

If you’re not a duck person, all the flavors in this dish would work just fine with chicken! My first go at this wasn’t perfect. I was afraid of blackening the paste on the duck and over cautiously kept the heat down low which meant the duck skin didn’t get as crispy as I wanted. But as Curtis keeps saying, “oh well, guess you’re going to have to try to make it again!”

Kaho Soy Noodles with Seared Duck, Pickled Mustard Greens and Cilantro
Recipe by Chef Becky Selengut, www.CornucopiaCuisine.com
Serves 4

Pickled Green – to be made one day in advance: To make the mustard greens (or any kind of greens, such as kale): blanch the leaves in boiling water for 5 minutes. Drain and squeeze out all the water and chop into thin, bite size pieces. Place in a large glass jar and pour seasoned rice vinegar over the top to cover the greens. Place in the fridge overnight and serve the next day as a garnish to your duck dish.

Ingredients:
4 duck breasts, about ¼ lb. each, fat scored
2 tablespoons Thai Kitchen roasted red chili paste (or use more for a stronger, spicier flavor)
1 tablespoon ghee
1 teaspoon yellow curry powder
14-ounce can coconut milk
1 cup chicken stock (Imagine Chicken stock is Becky’s favorite brand, I use Kirkland Signature)
2 limes, one juiced to season the curry, the other cut in wedges for garnish
2 teaspoons fish sauce, or more to taste
1 pound fresh noodles (I made homemade basil fettuccine, but if you’re going with store bought, Becky recommended Cucina Fresca brand)
1 tablespoon salt
2 bunches greens, pickled one day ahead
1 small shallot, sliced paper thin
1 bunch cilantro

1. Bring a large pot of water to a boil

2. Prepare the Duck. Score the fat side of the duck into a grid pattern. Rub 1 tablespoon of the curry paste all over the duck breasts. Heat a large sauté pan over high heat. Add the ghee and when hot, add the duck breats fat-side down. Turn the heat down to medium-low and render the fat out of the duck breasts until you can see only a thin sliver of fat on the breasts and you’ve developed a nice crust, about 10 minutes. Turn the breasts over and cook for 2 to 3 minutes only on the flesh side for a medium-rare breast. Remove to a plate and cover loosely with foil. Let it rest for 10 minutes.


3. Prepare the Curry. In the same pan that you cooked the duck, add the remaining curry paste and cook until it turns a nice dark rust color, about 2 minutes. Add the curry powder and cook 30 seconds, then add the coconut milk and stock. Bring to a boil and then simmer for 10 minutes. Taste and adjust the curry flavor with some lime juice and fish sauce. Slice the duck into thin slices. Add any duck juices that remain on the board to the curry. Keep the duck warm.

4. Cook the noodles. Add 1 tablespoon of salt to the boiling water. Boil the noodles for 3 to 4 minutes until tender – don’t overcook!

5. Assemble the dish and garnishes. Add the cooked noodles to the curry. Arrange the duck, mustard greens, shallot, cilantro and lime on a plate (I also included a little pile of kimchi). Serve immediately.


6. Wine. Becky paired this dish with Chateau Ste. Michelle Eroica Riesling. We did the same when we made it at home and it complements the duck and Thai flavors very well!

Print Friendly and PDF


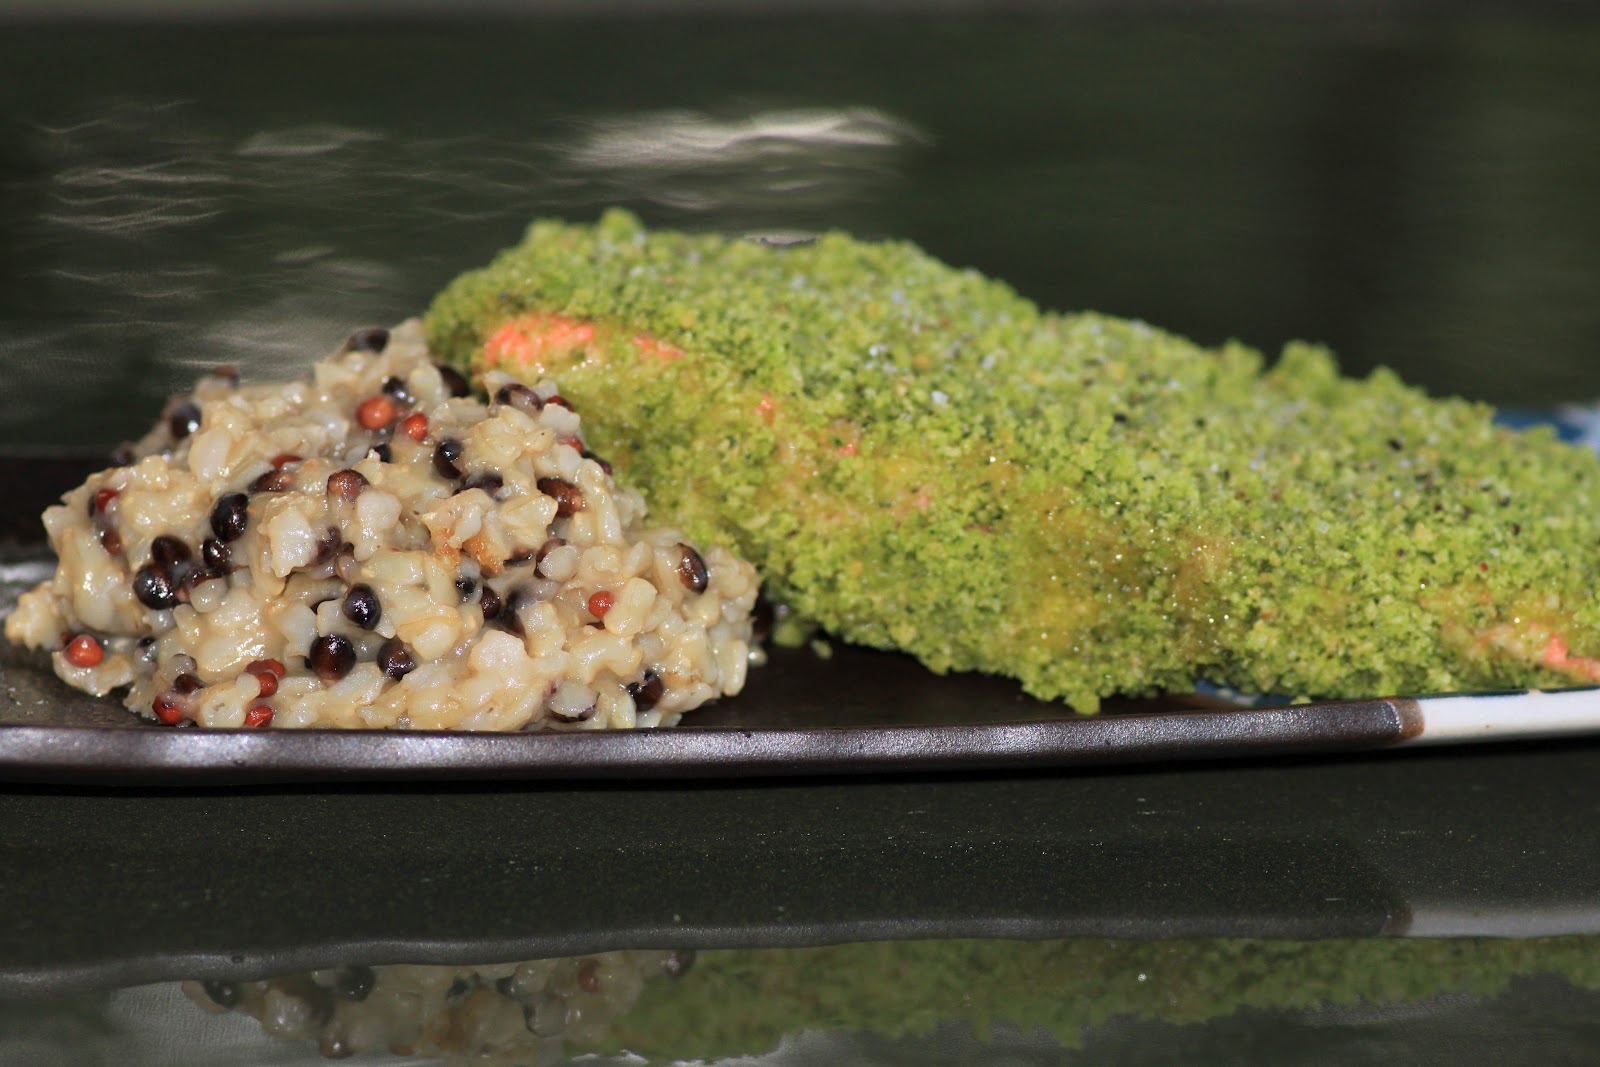
To ensure we were getting all the nutrients we needed, we also had a yummy superfoods salad on the side.

Recipe #3 from Project Cookbook: My 2012 New Year’s Resolution to cook at least one recipe from every cookbook I own.

Thursday, February 16, 2012

Project Cookbook: Thai Rice Noodles with Pork, Chicken, and Shrimp


I have a memory associated with most of my cookbooks knowing that I purchased the book for a specific recipe, Food Network star or I remember who gave it to me and when or why. This particular cookbook: Terrific Pacific Cookbook: The Vibrant Foods of Thailand, Bali, Singapore, Australia, Vietnam, and Malaysia was a wedding gift along with a really cool cutting board.

And I’m really glad I opened this book back up (it had been awhile) for my cookbook project! The first recipe I tried was MEE KROB, an authentic Thai dish with crispy fried rice noodles. I wasn’t in the mood to fry, so I adapted this recipe slightly and Curtis and I both loved it. It tasted as good as take-out Thai, but not nearly as greasy and I was able to add extra veggies to the recipe. On day two, I added some broccoli and more tofu to the leftovers and had another complete dinner. We also had a cabbage, fennel, onion and cucumber salad – a recipe I saw in the December issue of Food & Wine.

I thumbed through the book and found several more recipes I’d like to try. In fact I feel out of fairness I should make at least one recipe from each region, but I’ll try to plow through a few more of my cookbooks before I come back to this one.

Note: I bought my rice noodles at Safeway but they were a rip off. I’d recommend stocking up at an Asian market such as Uwajimaya.


MEE KROB (Stir Fried Rice Noodles with Pork, Chicken, Tofu and Shrimp)
Adapted from Terrific Pacific Cookbook

INGREDIENTS:
Rice Vermicelli Noodles (8 oz.)
Coconut Oil, Ghee or high heat oil
¼ cup garlic, chopped
1 whole shallot, chopped
6 oz. shrimp
4 oz. chicken breast, thinly sliced
4 oz. lean ground pork
4 oz. tofu, diced
¾ cup light coconut milk
¼ cup Asian fish sauce
2 tablespoons Thai yellow bean sauce (Safeway didn’t have this, so I skipped it this time. Will look for it at an Asian market).
2 ½ tablespoons rice vinegar
3 tablespoons fresh lime juice
1 teaspoon ketchup
1 ½ teaspoons soy sauce
5 tablespoons granulated sugar
1 ½ tablespoons light brown sugar
Red pepper flakes, to taste
Kale, about 5 leaves, chopped
2 carrots, thinly sliced

GARNISHES:
Fresh cilantro leaves
Green onion, diced
Lime wedges
Julienned red bell pepper

DIRECTIONS:
1. Soak the rice noodles in hot tap water for 30 minutes. Stir them to make sure they don’t stick together. Drain in a colander and set aside.
2. Chop, dice and slice all your spices, meats and veggies to have them ready to toss in the stir fry.
3. Make the sauce by whisking together the ingredients listed from the fish sauce to the red pepper flakes.
4. Heat a wok over high heat. Add oil and slowly add in all the ingredients starting with the pork and shallots, then the chicken, veggies, a few handfuls of noodles at a time (so they’ll soak up the sauce), tofu and garlic. Add the shrimp last so it doesn't overcook and stir fry for about 3 minutes. Be careful not to overcook the chicken. Alternatley pour in the sauce and coconut milk as you’re adding ingredients (Your kitchen is going to smell amazing!).
5. Use tongs to dish up the stir fried noodles and serve with garnishes.

Print Friendly and PDF

###
Recipe #2 from Project Cookbook: My 2012 New Year’s Resolution to cook at least one recipe from every cookbook I own.


Pin It

Thursday, January 12, 2012

New Year’s Resolution and Coconut Bran Muffins


I neglect my cookbooks. I love them, I buy them and I ask for them, but once they join the other 48 cookbooks on my cookbook shelf they don’t get much love. With all the fabulous food blogs I follow, cooking magazines I subscribe to, online cooking sites and Pinterest, I’m always overloaded with new recipes I’m excited to try.

My resolution for this year is to make at least one recipe out of every cookbook I own. And if I can’t find at least one recipe that looks enticing enough to try, then the book is going to be donated. So here goes: Project Cookbook 2012. Of course I have favorite cookbook recipes I turn to over and over again; such as Grammy’s Chicken Pot Pie from Simply Classic (the Seattle Junior League Cookbook), Neil’s pancakes from the Clinton Street Baking Company Cookbook and Blue Cheese Beef Roll from Elena’s Cookbook, so as a rule, the recipe I make will have to be something new I’ve never tried before.

And this will be a win win because over at Beauties and the Feast (the recipe club blog I share with my girlfriends) we’re changing our format for 2012 so it’s more like Iron Chef or Chopped: one ingredient will be posted each month and all six of us have to come up with a recipe featuring that ingredient. I’m sure I’ll find lots of inspiration in all my beloved cookbooks!

So yes, while others are resolving to eat better and exercise more, I conveniently found a way to work what I love most into my New Year’s Resolution. At least I’m setting myself up for success! Cheers to 2012!

Assignment #1: Coconut Bran Muffins from Coconut Lover’s Cookbook

My boss, who has a great sense of humor, gave me not one, not two, but three coconut cookbooks for Christmas! He loves coconut and can’t stop talking about the coconut muffins he had when he went to Kauai. So I’m sure his intention was to supply me with a lifetime of coconut recipes so I can bring treats into work. Is what I don’t think he realized is there is a new coconut / health food craze and instead of featuring things like coconut cream pie, the three cookbooks are chock full of healthy recipes!

I adapted this muffin recipe and of course managed to make it not quite as healthy as the original (chocolate chips and coconut just go so well together!). The texture is a bit off, they’re kind of dense but I liked all the cinnamon and the nuts, coconut, and chocolate chips make the muffins a hearty breakfast treat! They went over very well when I shared them with my morning coffee buddies at work.

COCONUT BRAN MUFFINS
Adapted from Coconut Lover’s Cookbook (page 133)

Makes 12 muffins

Ingredients:
1 cup light coconut milk (or water)
1 tablespoon vanilla
1/3 cup sugar (or honey)
1 egg
½ cup bran cereal (or 1/4 cup wheat bran)
1 cup flour (or whole wheat flour)
¼ cup grated coconut
2 teaspoons baking powder
¼ teaspoon salt
1 teaspoon cinnamon
½ teaspoon nutmeg
¼ cup coconut oil (now available at Trader Joe’s!)
½ cup nuts (I used pecans), optional
½ cup mini dark chocolate chips, optional

Directions:
1. Preheat oven to 400 degrees f.
2. Combine coconut milk, vanilla, sugar, egg and bran cereal in a bowl and let sit for about 10 minutes. The bran will absorb some of the moisture as it sits, which will improve the texture of the final product.
3. In another bowl, mix flour, grated coconut, baking powder, salt, cinnamon and nutmeg.
4. Add melted (not hot) coconut oil to the liquid ingredients, add the nuts and mix together.
5. Combine the wet and dry ingredients and the chocolate chips in one bowl and mix until just moist. Do not over mix or the muffins will not rise as well (maybe this is why I had dense muffins?).
6. Line a 12-cup muffin tin with cupcake liners or coat with cooking spray or coconut oil. Fill muffin cups half full and bake for 15 minutes.

Print Friendly and PDF

Pin It